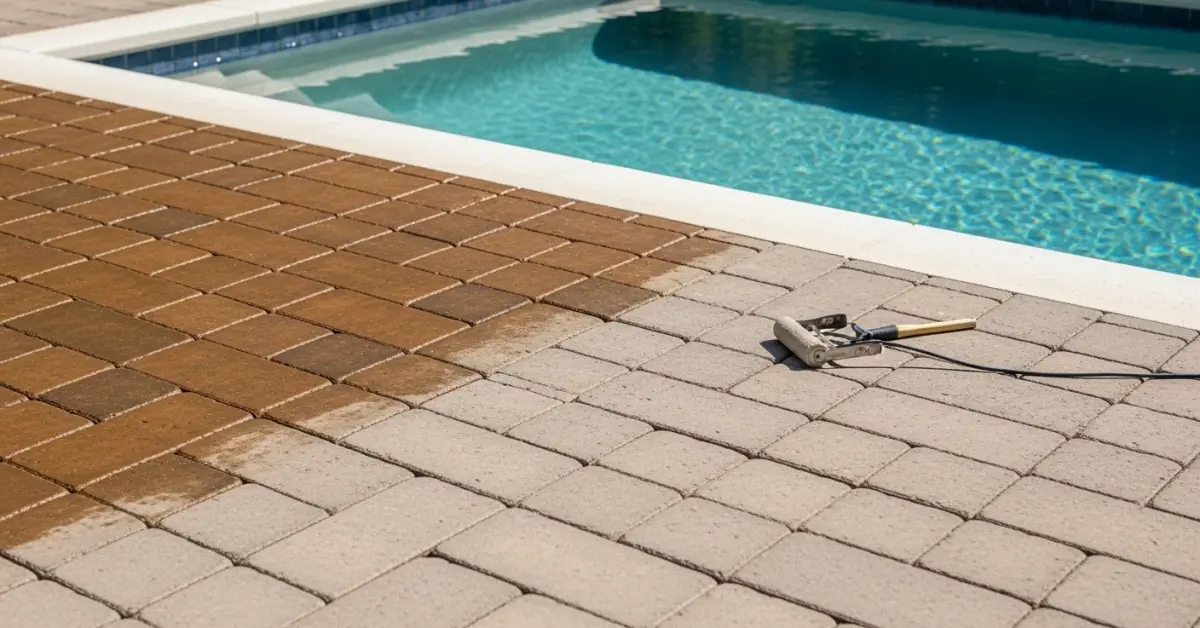
The dark stains and stubborn weeds you see in the joints of your paver driveway are not just a cosmetic issue; they are a symptom of a process that is actively degrading your investment. In Sarasota, I've seen countless driveways sealed with a product that looked great for six months, only to turn cloudy, peel, or become a breeding ground for mold by the next summer. The core problem is that our combination of intense sun, torrential summer rains, and high humidity creates an environment where generic, film-forming acrylic sealers fail spectacularly. They trap moisture, which is the root cause of most paver issues here.
The Sarasota Standard for Paver Sealing: A Technical Summary
From my direct experience sealing driveways from The Meadows to waterfront properties on Siesta Key, a successful
From my direct experience sealing driveways from The Meadows to waterfront properties on Siesta Key, a successful project in this climate is less about the sealant and more about the preparation and system. The sealant is the final step, not the whole solution. A proper job here involves a multi-stage process designed to combat moisture intrusion from below and biological growth from above. This is a fundamentally different approach than what works in drier, less humid climates.
- System, Not a Product: The focus must be on a complete system: deep cleaning, joint re-sanding with polymeric sand, and application of a breathable, penetrating sealer.
- Moisture Management is Key: The primary enemy is trapped moisture. Film-forming acrylics often fail by delaminating (turning white) because they don't allow moisture vapor from the ground to escape.
- Joint Stabilization is Non-Negotiable: Weeds and paver shifting start in the joints. Using the correct grade of polymeric sand and activating it properly is more critical than the sealer itself for long-term stability.
- Chemical Compatibility Matters: The cleaning agents used must be fully neutralized before sealing. Residual acid or efflorescence remover can cause the sealer to fail prematurely.
Planning Failures That Guarantee a Do-Over
The most common mistake I see is focusing on the price per square foot instead of the process and materials. A low-cost bid almost always means corners are being cut on preparation, which is about 70% of the labor in a professional paver sealing project. They skip steps you won't notice until it's too late.
The Most Expensive Failure: Sealing Over Trapped Moisture
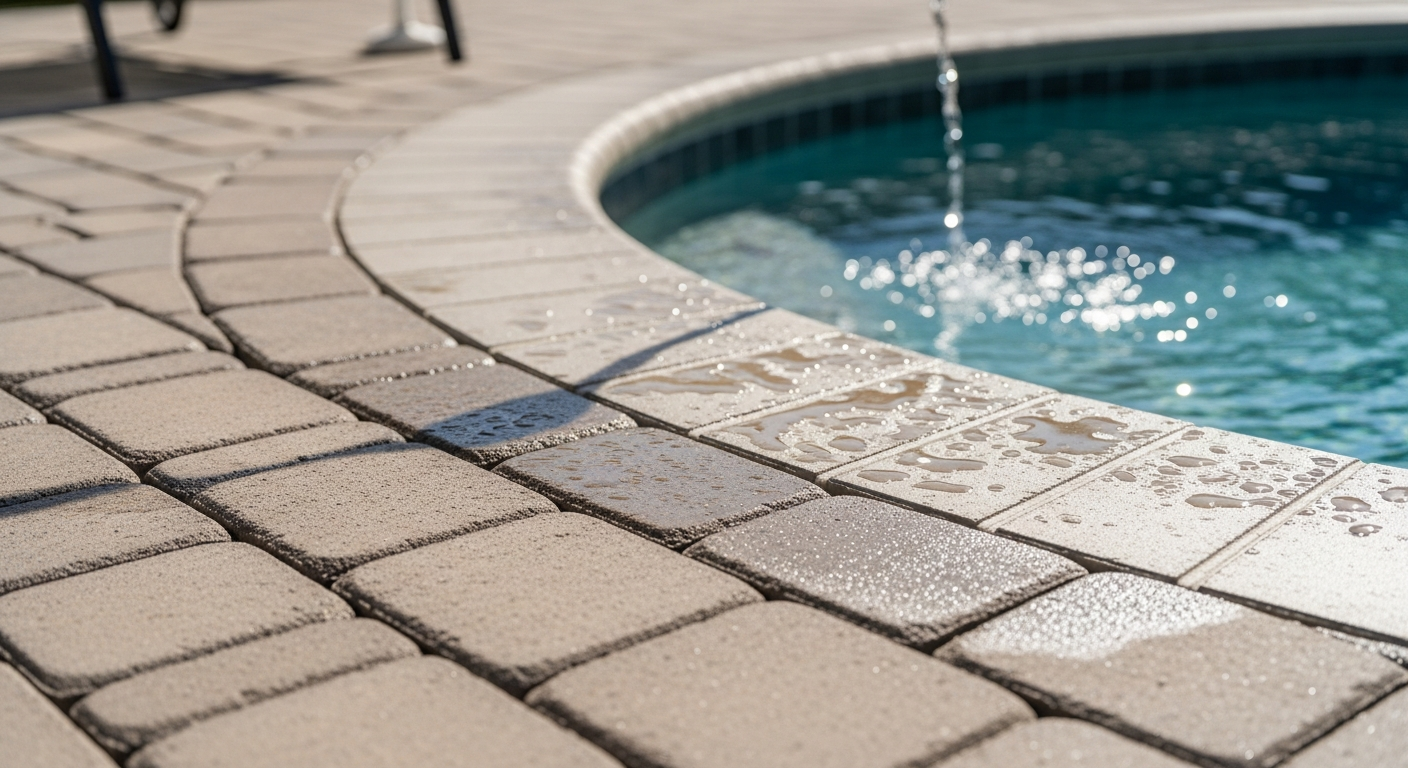
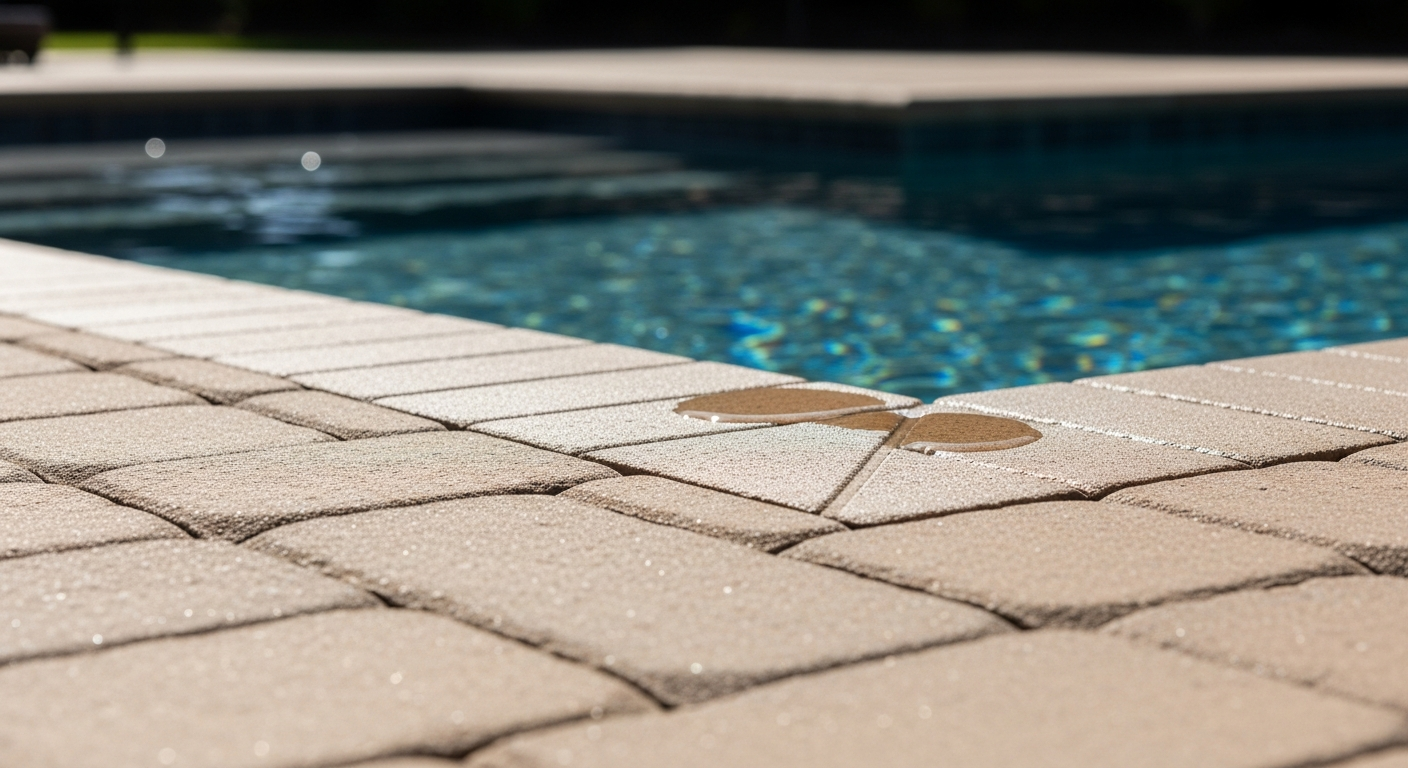
The costliest error is sealing pavers that are not completely dry, both on the surface and deep within the substrate. In our humid Sarasota climate, pavers can feel dry to the touch but still hold significant moisture. Applying a non-breathable sealer in this condition traps that moisture, which then tries to escape when heated by the sun. This is what causes the milky, white haze (blushing) that ruins the appearance of a driveway. I've been called to fix jobs where this happened within weeks, and the only solution is to chemically strip the entire driveway and start over, effectively doubling the cost of the original project.
How Professional Sealing Works in Practice Here
A professional paver sealing project in Sarasota County is a multi-day process, dictated entirely by weather and moisture levels. It is not a simple "pressure wash and spray" job. The process starts with an assessment of drainage, paver type, and existing biological growth to determine the right cleaning agents and techniques.
Key Steps and Local Considerations
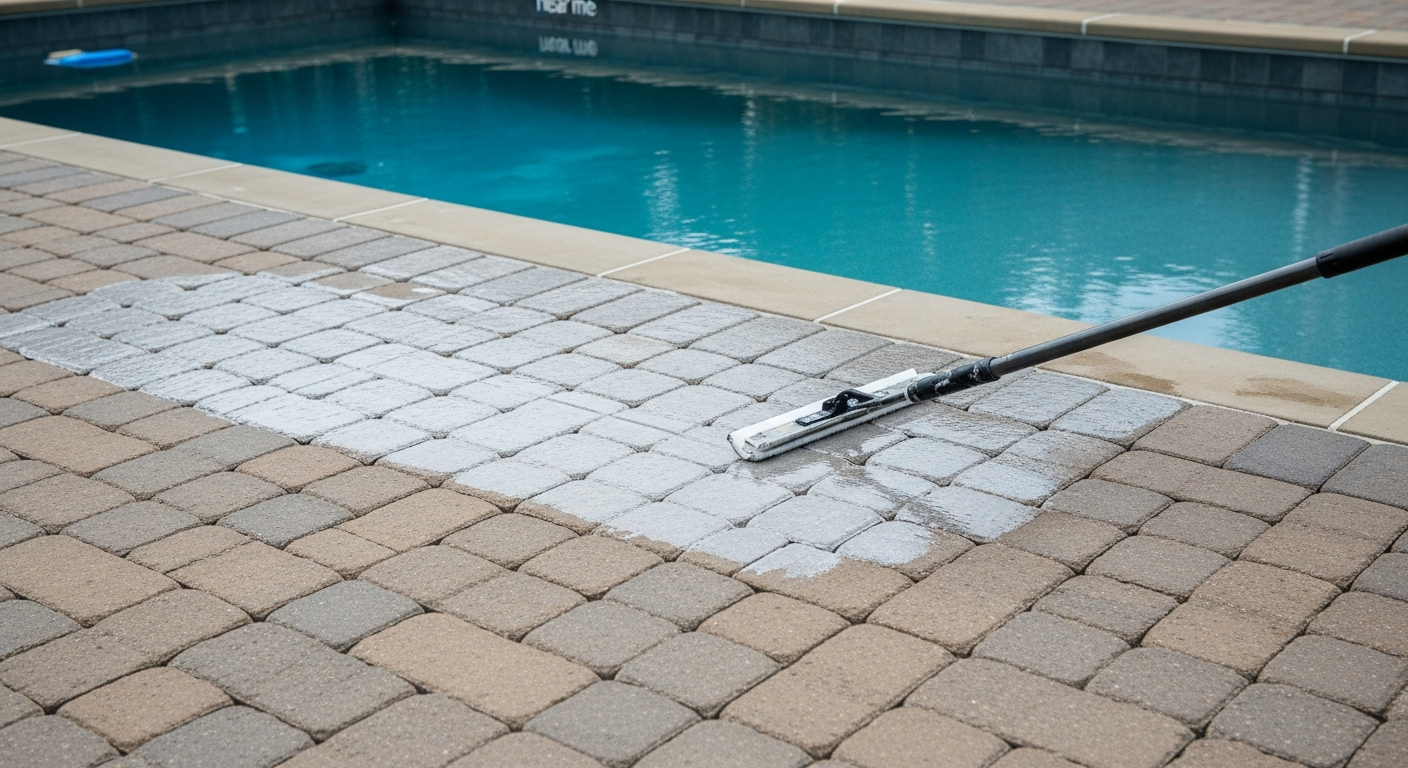
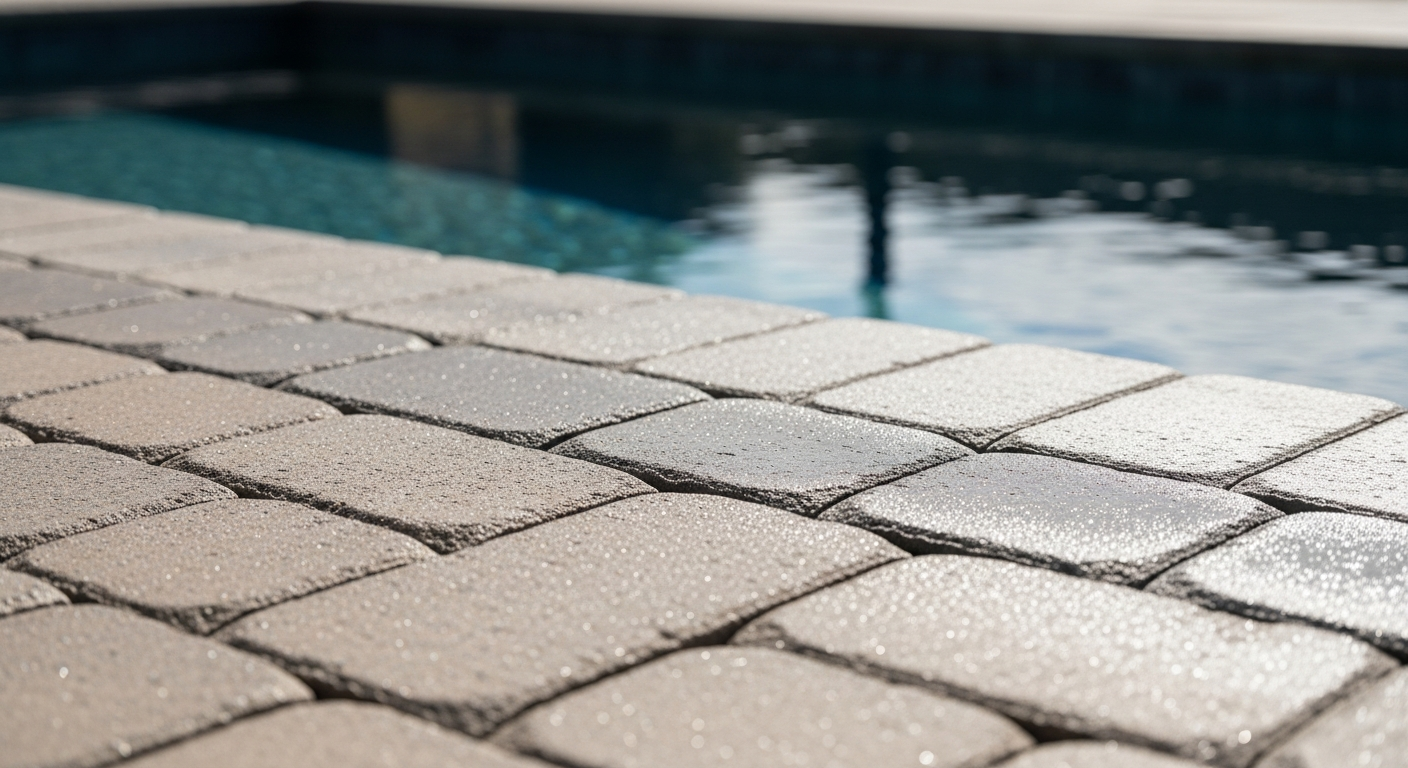
The first stage involves a deep cleaning, often with a commercial-grade surface cleaner to avoid scoring the pavers, followed by targeted treatments for oil stains, rust, or efflorescence. After a thorough rinse, the joints are cleaned out and refilled with polymeric sand. This is a critical step. The sand must be meticulously swept into the joints and compacted, with all excess removed from the paver surface before activation with water. The pavers must then dry completely—which can take 24 to 72 hours depending on the season and humidity—before any sealer is applied. Finally, the chosen sealer is applied in thin, even coats, typically with a specialized sprayer.
Comparing Sealing Against Common Alternatives
Many homeowners question if sealing is worth the investment, considering alternatives like regular pressure washing or simply leaving the pavers natural. While those are options, they come with different long-term costs and consequences, especially in our environment.
| Indicator | Professional Sealing (Penetrating Sealer) | Regular Pressure Washing Only | Leaving Pavers Natural |
|---|---|---|---|
| Initial Cost | Moderate to High ($1.50 - $3.50/sq. ft.) | Low | None |
| Weed/Mold Prevention | Excellent (3-5 years) | Poor (regrowth in weeks) | None (constant growth) |
| Long-Term Paver Stability | Excellent (stabilized joints) | Poor (washes out joint sand) | Fair (gradual erosion) |
| Aesthetic/Curb Appeal | High (color enhancement, clean look) | Temporary (looks clean for a short time) | Low (prone to staining and fading) |
When Sealing Might Be the Wrong Choice
Sealing is not always the best path forward. If your pavers have severe structural issues—such as significant sinking, heaving, or widespread breakage—sealing is a waste of money. It's a protective measure, not a structural repair. In these cases, the funds are better allocated to leveling and repairing the underlying base first. Sealing a failing foundation just traps you in a cycle of cosmetic fixes that ignore the root problem.
A Safe Hiring Checklist for Sarasota Homeowners
Finding a qualified contractor in the Sarasota area requires looking beyond a nice website and low price. The market is saturated with operators who use inferior materials and improper techniques. Verifying credentials and understanding their process is crucial.
- Verify Licensing and Insurance: Check that the contractor holds a valid local business license and, more importantly, carries general liability and worker's compensation insurance. Ask for the certificate of insurance.
- Inquire About Their Specific Process: Ask them to walk you through every step, from cleaning to sanding to sealing. If they say it’s a one-day job, that's a major red flag.
- Ask for Product Data Sheets: A professional will be able to provide you with the technical data sheets for the specific polymeric sand and sealer they plan to use. Look for a breathable, penetrating sealer, not a cheap acrylic.
- Check for Local References: Ask for addresses of projects they completed over a year ago in neighborhoods like Palmer Ranch or University Park. This allows you to see how their work holds up to a full Florida summer.
- Get a Detailed, Itemized Quote: The quote should break down costs for cleaning, repairs (if any), re-sanding, and sealing. Vague, lump-sum quotes hide what's being skipped.
- Discuss Weather Contingencies: A reputable contractor will have a clear policy on how they handle rain delays, which are inevitable here. They will not seal if rain is in the forecast within 24 hours.
Decisions That Ultimately Determine the Outcome
Over the years, I've seen that the success of a paver sealing project hinges on two key homeowner decisions made before any work begins: the choice of materials and the patience to allow for proper procedure. Rushing the job to meet a deadline or opting for a cheaper, film-forming sealer to save a few hundred dollars is what leads to 90% of failures.
The Moment Most Homeowners Get It Wrong
The critical mistake happens when comparing quotes. A homeowner sees one bid at $1.75/sq. ft. and another at $2.50/sq. ft. and naturally leans toward the lower price, assuming the service is the same. They don't ask *why* it's cheaper. The cheaper price almost always comes from using a solvent-based acrylic sealer and skipping the polymeric sand step. The single most important decision you can make is to insist on a water-based, two-part urethane or silane/siloxane penetrating sealer and high-quality polymeric sand. It costs more upfront but prevents the catastrophic and expensive failure of a delaminating acrylic sealer.
Practical Answers for Paver Projects in Sarasota
Navigating a paver sealing project involves more than just the technical work. It intersects with local rules, expectations, and the practical realities of our climate.
Do I Need HOA Approval for Paver Sealing?
Generally, for simple cleaning and sealing with a clear, non-glossy finish, you do not need HOA approval in most Sarasota communities. However, if you are changing the color of the pavers with a tinted sealer or using a high-gloss "wet look" finish, you absolutely must check with your Architectural Review Committee (ARC). Many HOAs, especially in places like Lakewood Ranch, have strict rules on reflectivity and color palettes to maintain community aesthetics. Proceeding without approval can result in a violation notice and a demand to strip the sealer at your own expense.
What's the Best Time of Year to Seal Pavers in Florida?
The ideal window for paver sealing in the Sarasota region is during the drier, cooler months—typically from late October through early May. During this period, lower humidity allows the pavers to dry out thoroughly, and the chance of an unexpected afternoon thunderstorm derailing the project is much lower. Attempting to seal pavers during the rainy season (June-September) is risky and requires a contractor who is extremely diligent about monitoring weather and using moisture meters.
How Do Contractors Handle Efflorescence on Pavers?
Efflorescence, the white, chalky powder that appears on the surface of new pavers, is a common issue here due to moisture carrying mineral salts to the surface. A professional contractor will not seal over it. The proper method is to treat it with a specialized, acid-based efflorescence cleaner, followed by a thorough neutralization and rinsing process. Sealing over efflorescence will trap the white haze under the sealer permanently. It's a sign of an amateur if a contractor says it's not a problem or just pressure washes it away without chemical treatment.