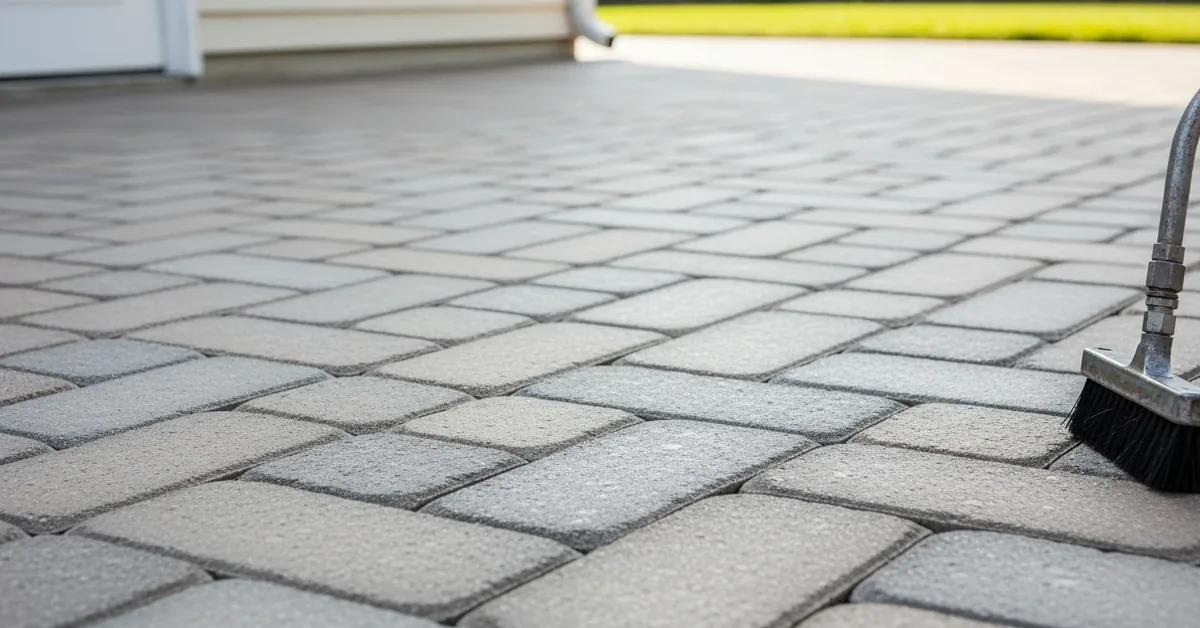
After more than a decade sealing pavers from waterfront homes on Lido Key to sprawling patios in Lakewood Ranch, I can
After more than a decade sealing pavers from waterfront homes on Lido Key to sprawling patios in Lakewood Ranch, I can state with certainty that most failures here are not product-related; they are process-related. The relentless Sarasota humidity is the single biggest variable. Trapping even a small amount of moisture under a film-forming sealer is what causes the milky, cloudy look that ruins countless patios. The success of a paver sealing project in this climate hinges entirely on meticulous moisture mitigation before a single drop of sealer is applied.
- Core Problem: Trapped moisture in porous pavers (common in FL) leading to sealer blushing (cloudiness).
- Critical Step: Verifying complete paver and joint sand dryness using a moisture meter, not just a visual check.
- Product Selection: Prioritizing breathable, water-based sealers over thick, solvent-based acrylics that are less forgiving of humidity.
- Local Factor: The high salt content in the air near the coast (Siesta Key, Longboat Key) accelerates the breakdown of low-quality sealers, making professional-grade, UV-resistant products non-negotiable.
The Planning Failures That Guarantee a Cloudy Finish
The most common mistake I see is a rush to seal. A homeowner sees a few clear days in the forecast and assumes it's the perfect window. They pressure wash on Monday and want the sealer applied by Wednesday. This approach completely ignores the time it takes for the tons of sand and porous concrete beneath the pavers to fully dry out in our humid environment.
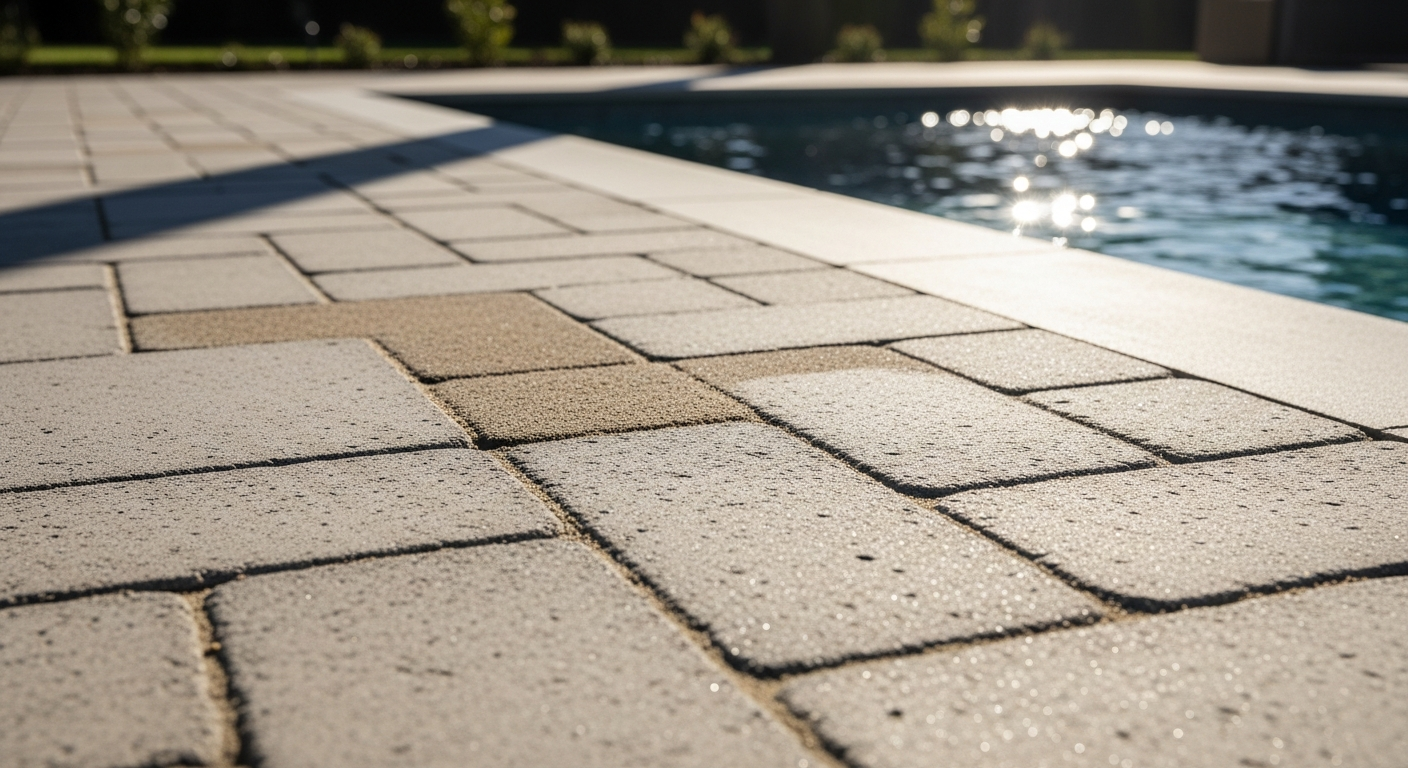
Another major failure is focusing on the 'look' of the sealer (high-gloss vs. natural) instead of its technical specifications. A high-gloss, 'wet look' sealer is often a thick, film-forming acrylic. While it looks great initially, it creates an impermeable barrier. When moisture vapor rises from the ground beneath—a constant in Sarasota—it gets trapped, causing the sealer to delaminate and turn white. Choosing a sealer that isn't breathable is the primary cause of catastrophic failure in Florida.
The Most Expensive Misconception: 'Clean is Dry'
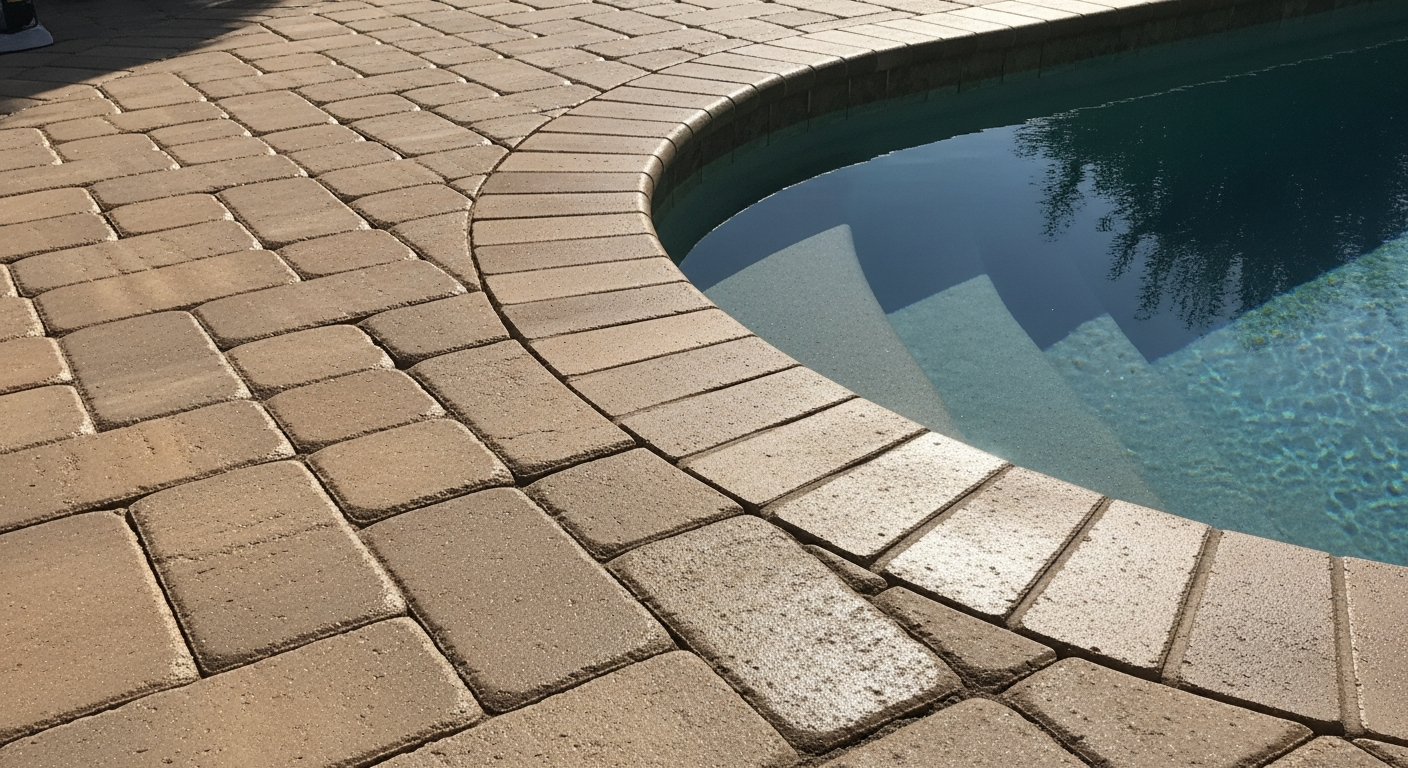
I was called to a project in The Meadows where the homeowner had paid a handyman to 'clean and seal' their large travertine patio. It looked great for two weeks, then cloudy patches appeared everywhere. The handyman had pressure washed it thoroughly, but sealed it the very next day. To the eye, the surface was dry. But the joints and the pavers themselves were still saturated internally. The cost to fix this isn't just the price of a new sealing job; it involves chemically stripping the failed sealer, a laborious and expensive process that often costs more than the original job should have. They paid twice for one result.
The Sealing Process Adapted for Coastal Florida
A professional paver sealing job in Sarasota is a multi-day process dictated by weather and moisture levels, not a fixed schedule. It's about preparation far more than application. The sealer itself is the final, and frankly, the easiest step if the prep work is flawless. This process is non-negotiable for a lasting result.
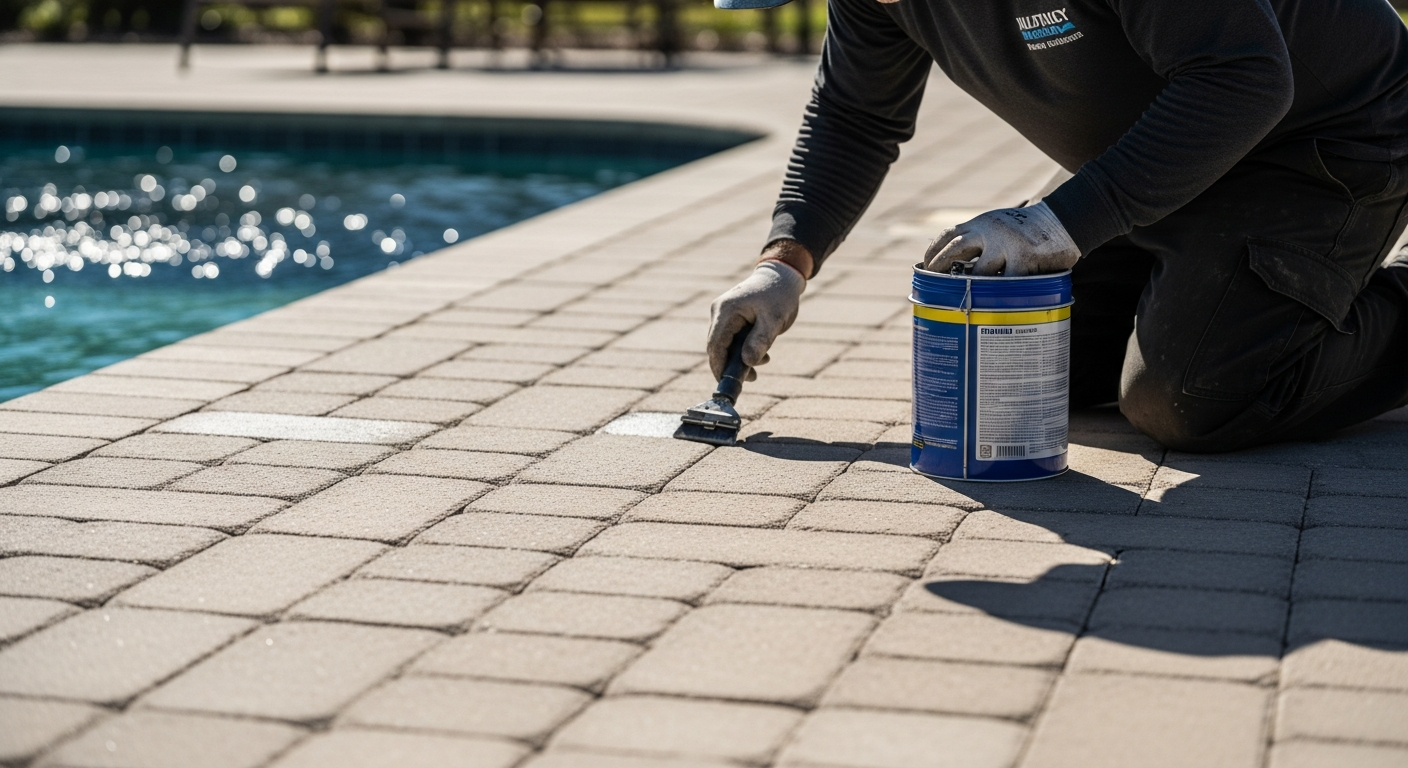
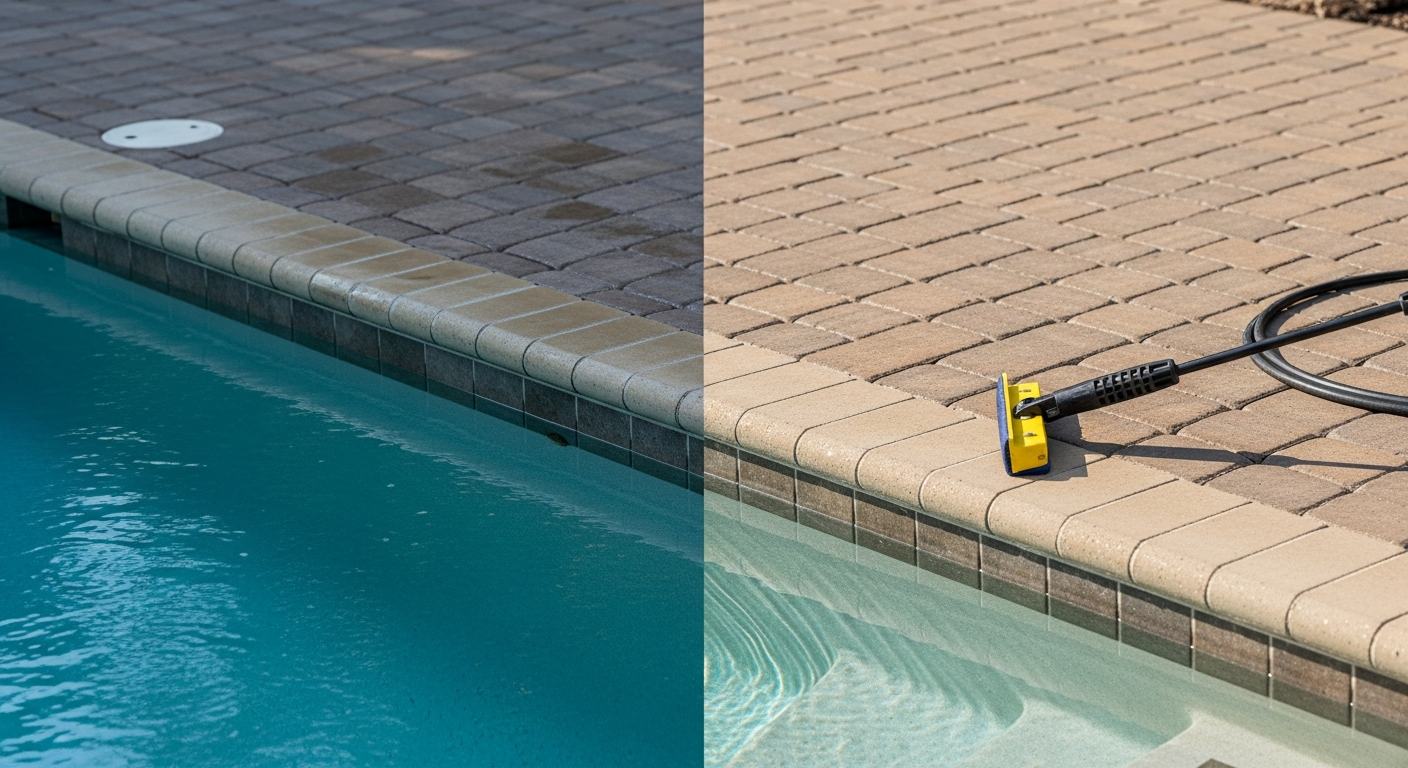
The first phase is a deep cleaning using commercial-grade surface cleaners to remove ground-in dirt, mold, and efflorescence (the white, chalky residue common on brick pavers). This is followed by a thorough rinse. Then, the waiting begins. We wait for the pavers and the ground beneath to be completely dry. We then install new, angular jointing sand, which is critical for locking the pavers together. This step, sealing patio pavers with sand, prevents shifting and weed growth. Only after the new sand is set and dry do we proceed to sealing.
Key Selection Criteria for Sarasota Homeowners
- Moisture Testing: Does the contractor use a moisture meter to confirm dryness before sealing? A visual check is not sufficient in our climate.
- Product Transparency: Can they provide a technical data sheet for the exact professional paver sealer being used? You need to verify its breathability (Vapor Transmission Rate).
- Efflorescence Treatment: Do they include an efflorescence treatment in their cleaning process? Simply pressure washing over it will not prevent it from returning and pushing the new sealer off.
- Insurance and Licensing: Verify they have a current General Liability policy and are properly registered with Sarasota County as a contractor. A simple painter's license is not adequate for this specialized work.
Comparing Sealing to Its Alternatives
Homeowners often wonder if sealing is worth the investment compared to just leaving the pavers natural or trying a DIY approach. While leaving pavers raw is an option, in Sarasota's climate, it invites rapid mold, algae, and weed growth, leading to a perpetually dirty appearance and unstable joints. The table below outlines the practical trade-offs.
| Indicator | Professional Sealing | DIY Sealing | No Sealing (Natural) |
|---|---|---|---|
| Upfront Cost | Medium-High ($1.50 - $2.50/sq ft) | Low | None |
| Long-Term Appearance | Excellent (with proper re-application) | Poor to Fair (high risk of failure) | Poor (prone to staining/weeds) |
| Protection & Stability | High (resists stains, locks joints) | Low (improper sand/sealer choice) | None (pavers can shift) |
| Maintenance Frequency | Re-seal every 2-4 years | Annual cleaning; high risk of stripping | Frequent pressure washing & weeding |
When Sealing Is Not the Right Choice
There are situations where I advise against sealing. If a paver patio has significant structural issues, such as severe sinking, poor drainage, or widespread shifting, sealing it is a waste of money. The sealer will not fix the underlying problem. In these cases, the funds are better allocated to a proper paver repair and re-leveling first. Sealing a failing patio is like painting over rust; it only hides the problem temporarily.
A Safe Hiring Checklist for Your Paver Project
Finding a qualified contractor for driveway paver sealing near you involves more than a quick search. It requires diligence to avoid the common pitfalls that lead to failed projects. This checklist is based on years of seeing what separates successful outcomes from costly mistakes in our local market.
- Verify Florida Contractor Registration: Check the Florida Department of Business and Professional Regulation (DBPR) website to ensure they hold a relevant and active license. This is non-negotiable.
- Request a Certificate of Insurance (COI): Ask for proof of both General Liability and Worker's Compensation insurance. Have their insurance agent send it to you directly to ensure it's current.
- Ask About Their Process for Rain Delays: A professional's answer will be clear: they will stop and reschedule. Any contractor who says they can 'work around' potential rain is a major red flag.
- Inquire About Specific Products: Ask what specific patio and paving sealer they use. If they are vague or just say 'the best one,' they likely use a generic, low-cost product. They should be able to name the brand and type (e.g., water-based, two-part urethane).
- Review a Portfolio of Local Work: Ask for addresses of projects they completed over a year ago in Sarasota. New work always looks good; the real test is how it holds up to a Florida summer.
- Get a Detailed, Itemized Quote: The quote should break down costs for cleaning, re-sanding, and sealing. A single lump-sum price can hide shortcuts.
Decisions That Ultimately Determine the Outcome
The single most important decision a homeowner makes is choosing patience. The desire to get the project done quickly, especially before an event or the start of the rainy season, is the enemy of a quality sealing job. You must allow the process to be dictated by the weather and ground conditions, not the calendar. A professional contractor will refuse to work if conditions are not perfect, even if it means delaying the project. An amateur will push through to get paid, leaving you with the consequences.
Another critical decision is investing in quality joint sand. Using cheap play sand or sand that isn't angular will not lock the pavers together. We use ASTM C144 sand, which has angular particles that compact tightly. This provides a stable base and is the first line of defense against weeds and insects. Skipping this or using inferior material means the foundation of the system is weak, no matter how good the sealer is.
The Moment Most Homeowners Get It Wrong
The critical mistake happens at the estimate stage. Homeowners get three quotes and instinctively gravitate toward the lowest or even the middle bid, assuming the process is standardized. They compare the final number, not the line-by-line process. They don't ask the contractor with the low bid, 'How many days do you allocate for drying after the pressure wash?' or 'What specific brand of polymeric sand and sealer are you using?' The low bidder is almost always cutting corners on prep time, sand quality, or sealer quality—the three things that ensure longevity in Sarasota.
Practical Answers for Operating in Sarasota
Do I need a permit for paver sealing?
For a standard clean-and-seal job on an existing patio or driveway, a permit from Sarasota County Planning and Development Services is not required. However, if the project involves altering the footprint of the patio, adding new drainage, or undertaking significant repairs that affect grading, a permit may be necessary. Always clarify the full scope with your contractor. The key is distinguishing between maintenance (no permit) and new construction/alteration (permit likely).
How do local HOAs affect my paver project?
Many Sarasota communities, particularly in Palmer Ranch or University Park, have strict Architectural Review Committees (ARCs). While they may not regulate the act of sealing itself, they often have rules about the final appearance. If you are choosing a 'wet look' or color-enhancing sealer that significantly changes the color of your brick paver sealers or driveway, you may need to submit the product specifications for approval. Proceeding without checking can result in a violation notice and a potential fine, which can easily exceed $100 per day in some associations.
What happens if a sealer is applied incorrectly?
An incorrectly applied sealer in our humid climate results in a chemical reaction, not just a cosmetic flaw. To fix it, the entire surface must be chemically stripped. This involves applying a caustic stripping agent, scrubbing, and pressure washing to remove the failed coating. It's an environmentally sensitive, labor-intensive process that can cost more than the original sealing job. This is why the initial contractor selection is so vital; a low upfront cost can quickly be dwarfed by the high cost of remediation.